In this document you will find This document describes the needed steps for of the creation of your first Yest Workflow in Jira.
| Table of Content Zone | |
|---|---|
On this page:
|
| Tip |
|---|
Prerequisites for to do this exercise
To learn more about the installation & configuration of the Yest for Jira app, please visit this link. |
...
Element | Description | ||||
|---|---|---|---|---|---|
 | Start Point The start point is the first element of the workflow.
| ||||
 | Task The task describes the actions and cases to be tested.
| ||||
 | Sub workflow The sub-workflow allows structuring the main workflow by referencing another workflow.
| ||||
 | Choice point The choice point allows the definition of alternative paths through the workflow.
| ||||
 | End point The end point represents the final state of the workflow.
| ||||
 | Group The group allows visual gathering of several elements. Keep the key ALT pressed to select elements inside a group
| ||||
 | Connector The connector is used to connect the elements of the workflow.
| ||||
 | Annotation The annotation, attached to workflow element, allows to display any text.
|
...
Jira Server | Jira Cloud |
|---|---|
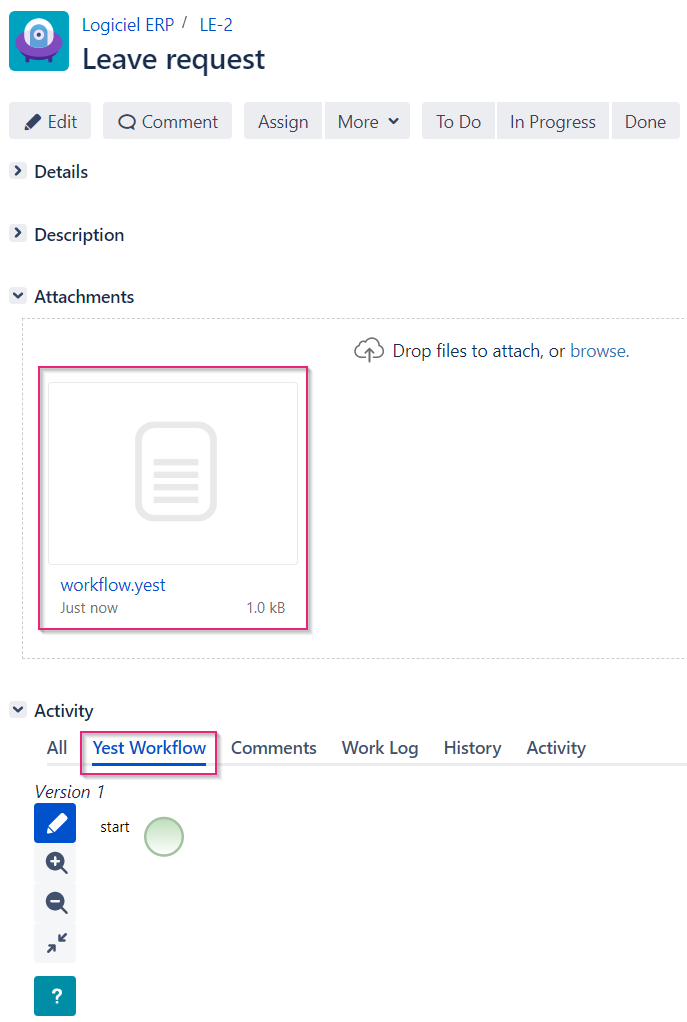 | 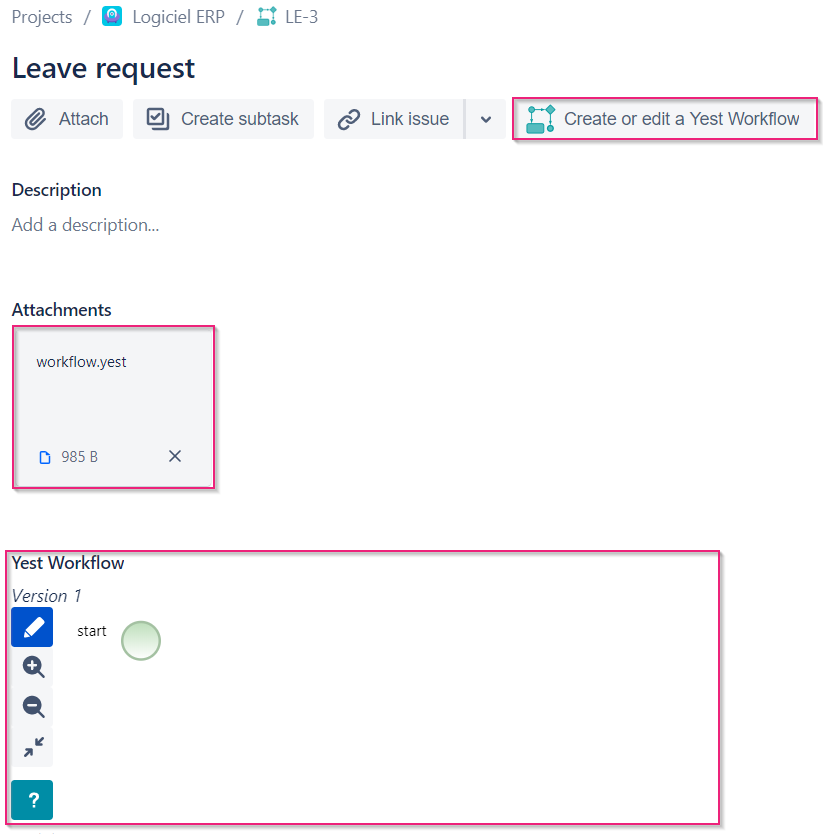 |
| Note |
|---|
When While creating an issue Yest Workflow, the Yest for Jira app adds an attachment named workflow.yest. This attachment stores the content of the Yest workflow. Thus, the modification of the Yest workflow requires the replacement of this attachment. For this reason, please do not delete this attachment. |
...
Description of the highlighted items | |||||
|---|---|---|---|---|---|
| 1 | Drag & drop available elements to insert them into the workflow’s diagram. | ||||
| 2 | These three buttons allow you to manage the workflow diagram’s zoom. The last button reset the zoom and center the diagram. | ||||
| 2 | Drag & drop available elements to insert them into the workflow’s diagram. | ||||
| 3 | The connector appears on hover over an element of the workflow (except the groups and end points). The following actions are available:
| ||||
| 4 | The comment entered in this field will be added in the issue’s comments after saving. | 5 | The annotation appears on hover over a diagram’s element (except groups). You can add an annotation by drag & dropping it.
| ||
| 5 | You can go to the app’s documentation via help button. | ||||
| 6 | You | ||||
| 7 | The comment entered in this field will be added in the issue’s comments after saving. |
| Tip |
|---|
Some tips
|
3. Create the Yest workflow corresponding to the subject and save it.
...
Generation of automated test scenarios
...
Automated generation of tests and scripts
For automated test case generation, automated test script generation and test data creation, you need Yest Desktop.
If you already have an installed Yest instance
...
, you can contact your Yest support for more details.
If you are not yet a Yest desktop user, you can check the features offered by Yest Desktop and contact us.