This document describes the needed steps of the creation of your first Yest Workflow in Jira.
...
Element | Description | ||||
|---|---|---|---|---|---|
 | Start Point The start point is the first element of the workflow.
| ||||
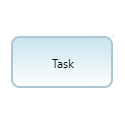 | Task The task describes the actions and cases to be tested.
| ||||
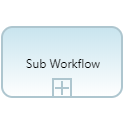 | Sub workflow The sub-workflow allows structuring the main workflow by referencing another workflow.
| ||||
 | Choice point The choice point allows the definition of alternative paths through the workflow.
| ||||
 | End point The end point represents the final state of the workflow.
| ||||
 | Group The group allows visual gathering of several elements. Keep the key ALT pressed to select elements inside a group
| ||||
 | Connector The connector is used to connect the elements of the workflow.
| ||||
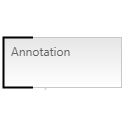 | Annotation The annotation, attached to workflow element, allows to display any text.
|
...
If you already have an installed Yest instance, you can contact your Yest support for more details.
If you are not yet a Yest desktop user, you can check the features offered by Yest Desktop and contact us.